

With VisualSP, you can create a walkthrough that steps through multiple pages.
Sample Challenge
I would like to create a walkthrough that guides the user from a SharePoint site home page to the Document Library page to upload a document.
Solution
From the VisualSP Help window > Admin menu, click Enable Edit Mode:

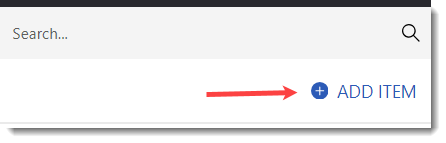
Click the Add Item button:
Select the Blank Help Item template:

The blank template will open.
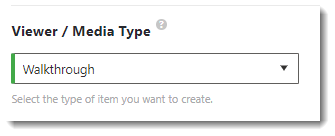
Select Walkthrough as the Viewer/Media Type:
Give your Help item a Title and Description (optional), and click on Walkthrough Steps:

Give the Step a Title, then click on the Target Element selector:

In this example, we will anchor the bubble to the Documents link.

Click “Use It!” in the dialogue at the bottom of the page:

Back in the Management screen, click on the Core Properties section and toggle “Advance When Target Clicked” to YES

Click on the Advanced Properties section (to the right of “Core Properties”) and toggle “Next Step is on a New Page” to YES.


In your browser, navigate to the Documents page on your SharePoint site to navigate to the Document Library.
In the Management screen, Core Properties section, give the step a title, then click on the Target Element selector:

On your Document Library page, select the target element to anchor the bubble:
Click “Use It!” in the dialogue at the bottom of the page:
Navigate to the homepage of your SharePoint site. Click the Preview Walkthrough button to test:

When you are happy with your walkthrough, remember to click the Save Help Item button to save your work.