Creating a new user group within your VisualSP subscription is a straightforward process that empowers you to efficiently manage permissions and collaborate effectively. Here’s a step-by-step guide on how to create a new user group:
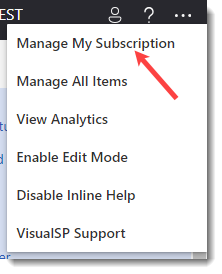
1. Navigate to Manage My Subscription:

Access the Manage My Subscription page, which serves as the control center for overseeing various aspects of your VisualSP subscription.
2. Access Permissions Tab:
Within the Manage My Subscription page, head to the Permissions tab, where you can fine-tune access levels and create new user groups.
3. Add a New Group:
In the Permissions tab, locate the “Add a Group” button situated at the lower-left corner of the screen. Click on it to initiate the creation of a new user group.
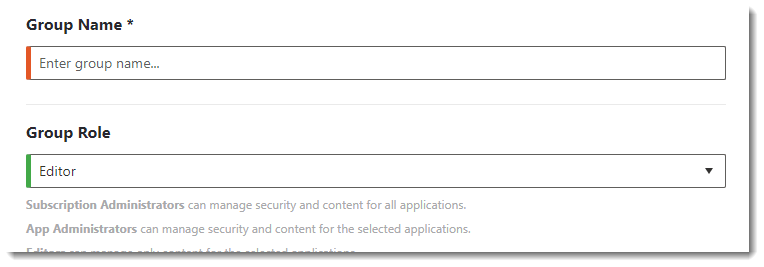
4. Name Your Group:

Provide a distinctive and meaningful name for your new group. This name should encapsulate the purpose or role of the group within your subscription.
5. Set Permission Level:
Choose the appropriate permission level for the group from the drop-down menu. Tailor the level to align with the specific access and capabilities required for members of this group.
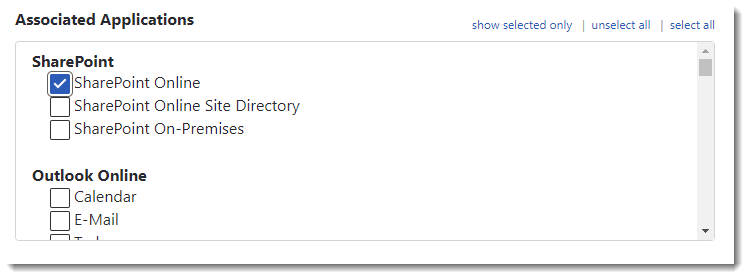
6. Scope Selection:

Specify the scope of the group’s permissions by either selecting a limited scope or opting to include all available elements. This step ensures that the group’s access aligns precisely with your intended configuration.
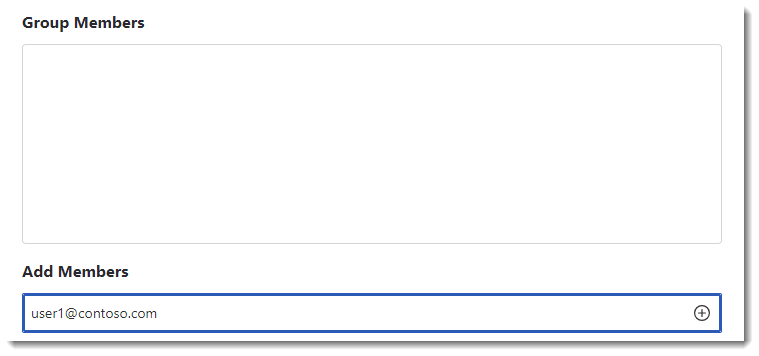
7. Add Users:
Type in the email addresses of the users you wish to add to the group. Click on the “+” icon to confirm their inclusion. Note that the user’s email address domain must match the subscription domain name to avoid errors. In case of a mismatch, an error message will prompt you to address the inconsistency.

8. First-Time User Information:
Be aware that for users who haven’t logged into the system before, their first and last names may appear as “Unknown, Unknown.” Once these users log in for the first time, their proper first and last names will be displayed.
9. Add as Many Users as Needed:
You can add as many individuals as required to the group, tailoring it to your collaboration and access management needs.
By following these simple steps, you’ll be able to efficiently create a new user group, customize its permissions, and streamline collaboration within your VisualSP subscription. Whether managing a small team or a larger user base, this process ensures a smooth and organized approach to user group creation and access control.

