Watch the video
Download link and written steps
- Download our Dynamics managed solution package.
- Navigate to the Power Apps home page.
- Select the appropriate environment from the Environment picker at the top of the screen.

- Select "Solutions" from the menu to navigate to the Solutions page.

- Select "Managed" tab from the Solutions menu.

- Inside the Managed tab, select "Import Solution" from the top menu.

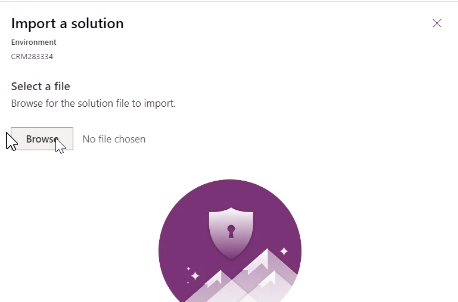
- Within the Import a solution modal, select the "Browse" button and locate the VisualSP for Dynamics managed solution you downloaded earlier.

- Click the "Import" button and wait for the import to process.
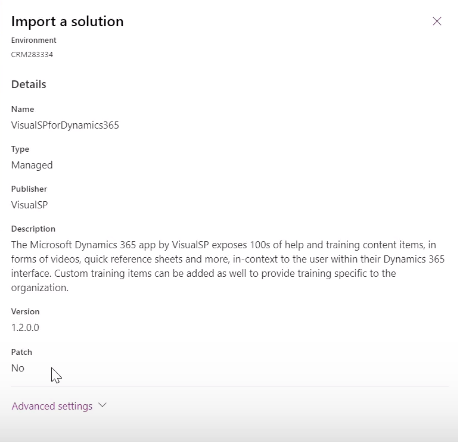
- Verify the imported solution and click the "Next" button.

- Set the required Environment Variable for VisualSP Subscription ID (required) and click "Import".
 NOTE 1: If you already have access to the VisualSP panel, you can find your 'VisualSP Subscription ID' in the Manage My Subscription page. .
NOTE 2: If this is your first installation of VisualSP, you can find this information in the welcome email for your trial or by contacting support.
- Once the Import Process completes the page refreshes. Note the status message that "VisualSP In-App Training for Dynamics 365" is currently being imported.

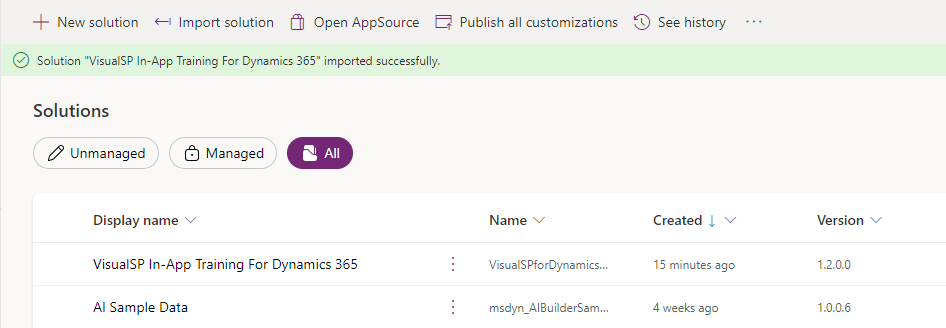
- Once the import process is completed the "VisualSP In-App Training for Dynamics 365" will appear in the Managed Solutions pane and be ready for use in Dynamics 365.
 NOTE: The import process can take up to 45 minutes according to Microsoft documentation. In our experience, it occasionally takes up to a day. The green banner shown in this screenshot is your indicator that the process is complete.

