

No one reads bulk emails. Not even yours. 😊
When you have announcements / reminders / change management comms... that are REALLY IMPORTANT - you have to make them stand out from the clutter in everyone's inbox.
Create your own banner to appear automatically at the top or bottom of the relevant app or page. You can even configure a schedule / recurrence pattern that makes sense for the importance of the message.

Banner essentials
- Click ADD ITEM:
- Pick either the 'Banner - Bottom Edge' or 'Banner - Top Edge' template.

- Enter a Title to help you and other users to find this banner in the panel later.
- Click into the Banner Content field and start adding your content. The formatting toolbar allows you to customize the look and feel of your message.

- Select the 'Read more' text at the right end of the banner, and click the Link item button (on the bottom row of the toolbar) to select any other help item that exists for the app you are currently using. The 'Read more' button becomes a clickable button that opens that other help item.
 (Both the banner and the 'read more' items will be trackable in analytics, so you can see how well your message got across.)
NOTE: Alternatively, there is a 🔗button on the first row of the toolbar that allows you to link to a web page instead of a help item.
Setting the context
When you create a banner, it's important to make sure it's only allowed to appear in the pages where you need it. VisualSP auto-detects the app you are currently browsing and sets that for you on the Core Content tab. You can adjust this manually, if needed.
You can also click on the Filters / Targets tab at the left to set more specific criteria for where the banner is allowed to appear.
Setting the schedule
Click on the Load behavior tab on the left, and set a schedule for the banner to load itself when users visit the page(s) you configured above.
Banner extras...
Banners have other less common settings that can be very useful for different use cases.
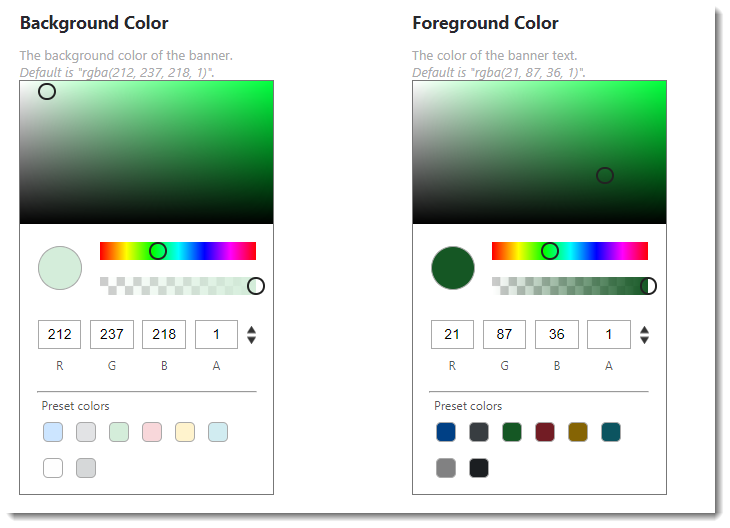
- Click the Switch to Banner Settings button. On this screen you can change the background color of the banner and the text color.
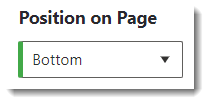
- You can position the banner at the top of the screen or the bottom with the Position on Page drop down.
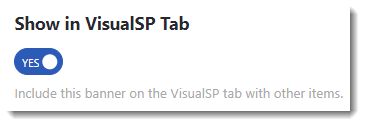
- You can also configure if the banner will appear in the help panel.
- If you have multiple banners on a page, you can set the Priority to set the ordering of the different banners on the page.
