You can add an image to the following three Help Item Media Types:
- Image
- Rich HTML
- Walkthrough
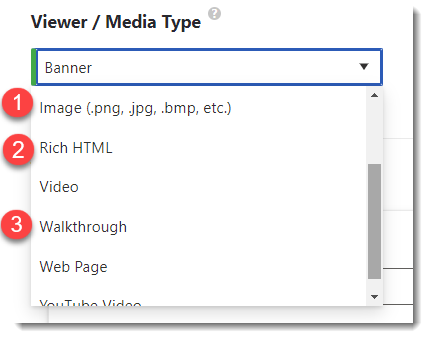
Image Media Type
If you are storing your images in a SharePoint document library or image library, here are the steps for capturing the image URL:
- Select the image
- Click Copy link:

- Change the share configuration to "People with existing access".
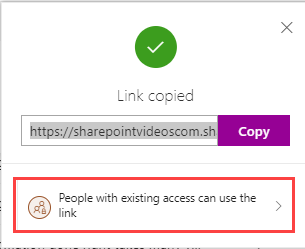
- Paste this URL into the URL or Path to Help Media window
- Click the Preview button to verify image is correct
Rich HTML / Walkthrough
- The process is the same for Rich HTML and Walkthrough Media Types.
-
- Rich HTML: Scroll down to the Rich HTML control and click Insert > Image.
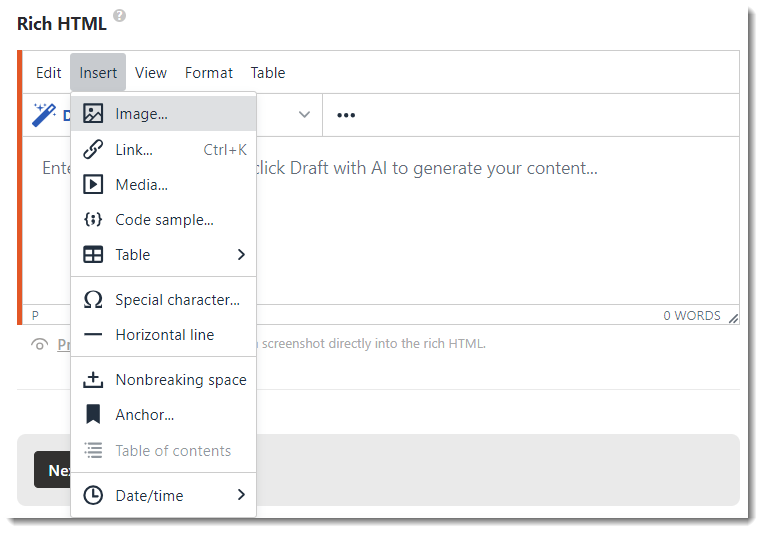
- For a Walkthrough, click on Walkthrough Steps in the first column, and in the Content control click Insert > Image.
- Rich HTML: Scroll down to the Rich HTML control and click Insert > Image.
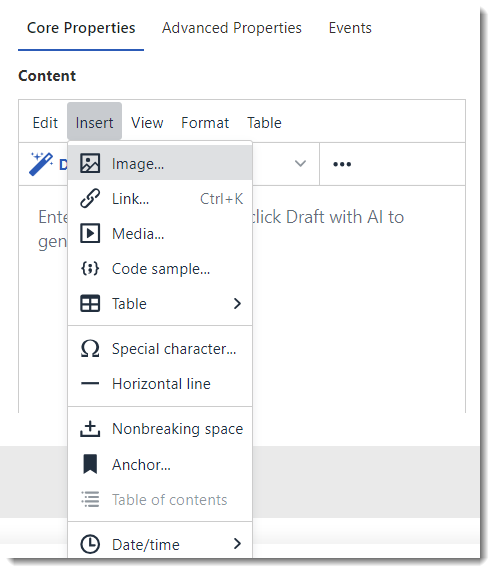
- Paste the image URL into the Source field. Alternative description and Width and Height are optional. Click Ok.
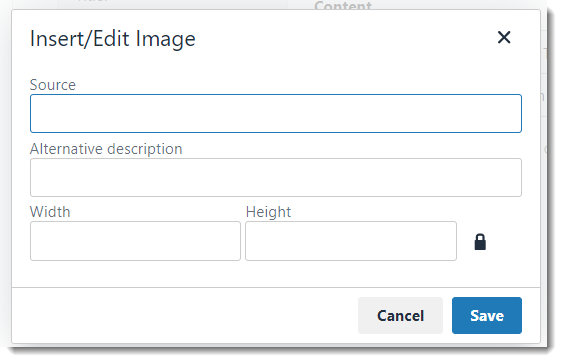
- The image will appear in the window.
Drag and Drop
If your image is on your computer, you can also simply drag and drop the image into the walkthrough or Rich HTML edit window.

