

VisualSP has streamlined our Editor window to make the process of making Items easier. You now have a choice of either starting from scratch, as was the experience in the previous version of our Editor, or start from a template. We have provided some starter templates for you, but you are also able to create your own templates and have easy access to them from this template gallery.
Creating an Item with the new Editor
When you click the Add Item button in the help panel, you are taken to our new template gallery, which looks like this:
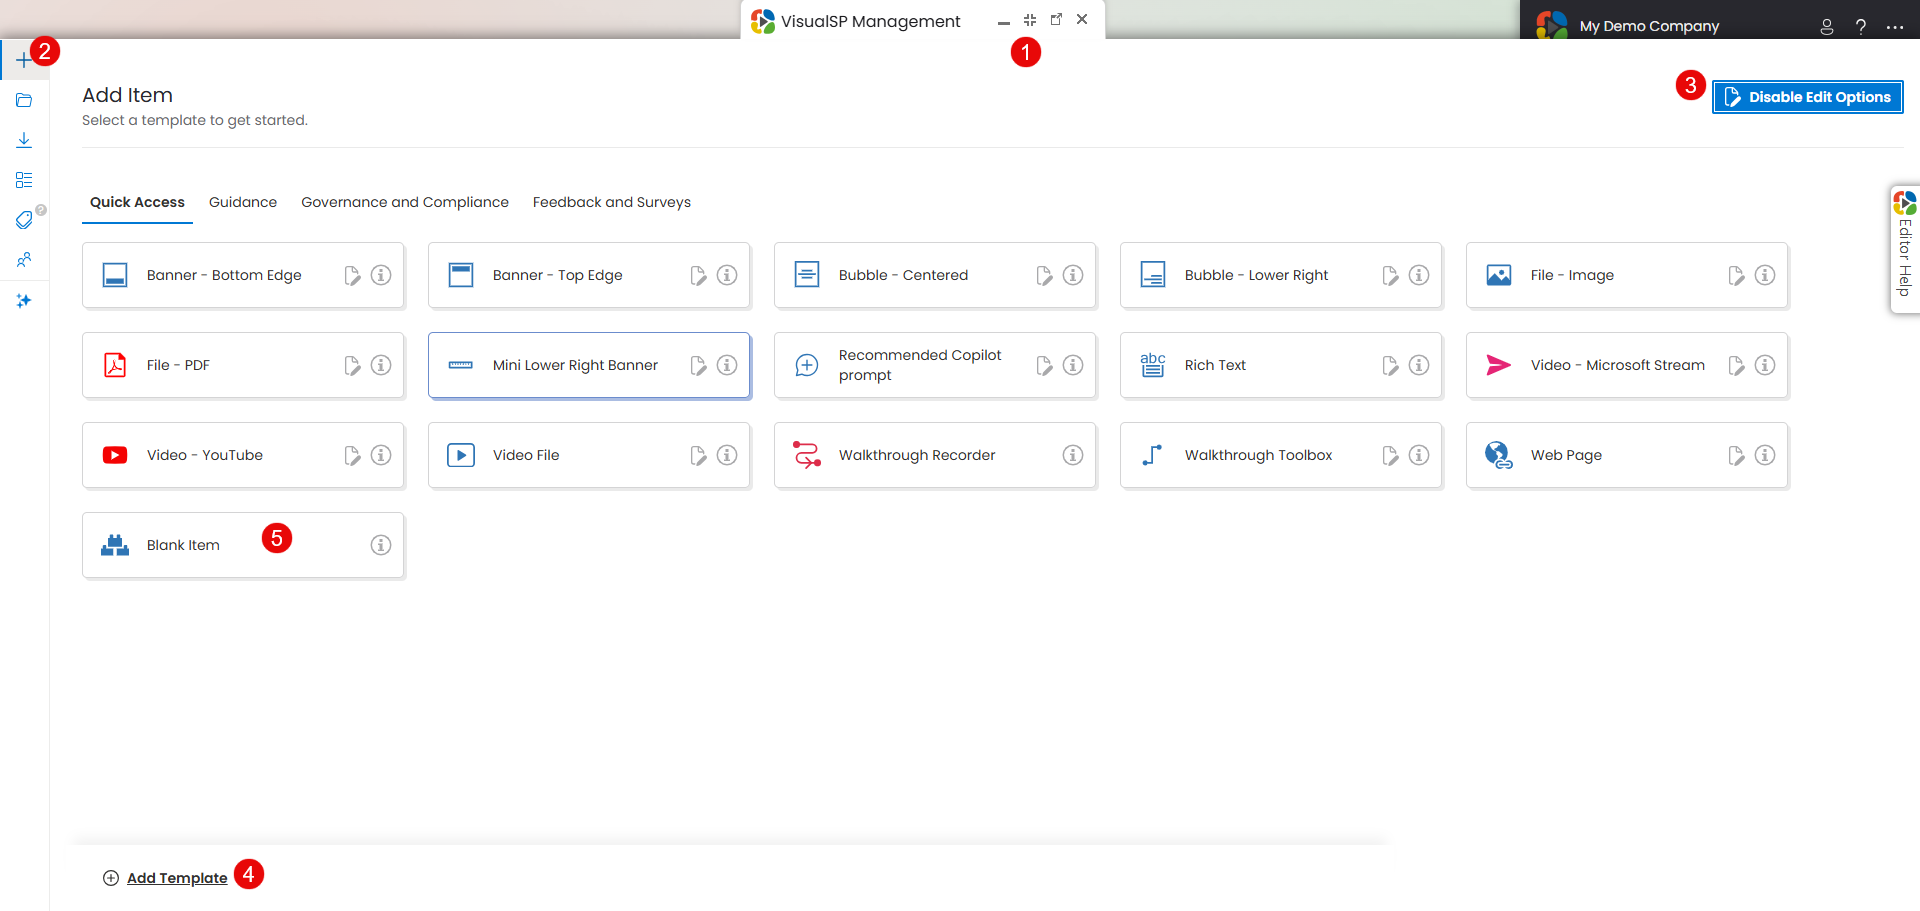
- You can expand the Editor window by clicking this icon.
- We have opened up the Editing screen real estate by hiding some other features along the left side of the Editing screen. This panel will slide out when you hover your cursor over it:
- Add Item - Click here to open up the Create New Item template gallery
- Open Item - Click here to view all your items, grouped by Application
- Import Item - Click here to import a help item json file
- Manage Groups - Click here to view / create your Group names
- Manage Terms - Click here to manage terms and term sets
- Manage Audiences - Click here to manage audiences
- Click here to Enable/Disable Edit Options - displays the Add Template control and inline edit icons on the existing templates
- Click the Add Template button to open the Templates application. This is where you go to edit the actual templates.
- To duplicate the experience from our previous Editor and start from scratch, select the Blank Help Item template. This will open the Editor screen with nothing pre-configured. Use a blank template if you know what you want to do.
- If you wish to start from a template, we have some pre-configured templates available to get you started. Any templates you create will appear here.
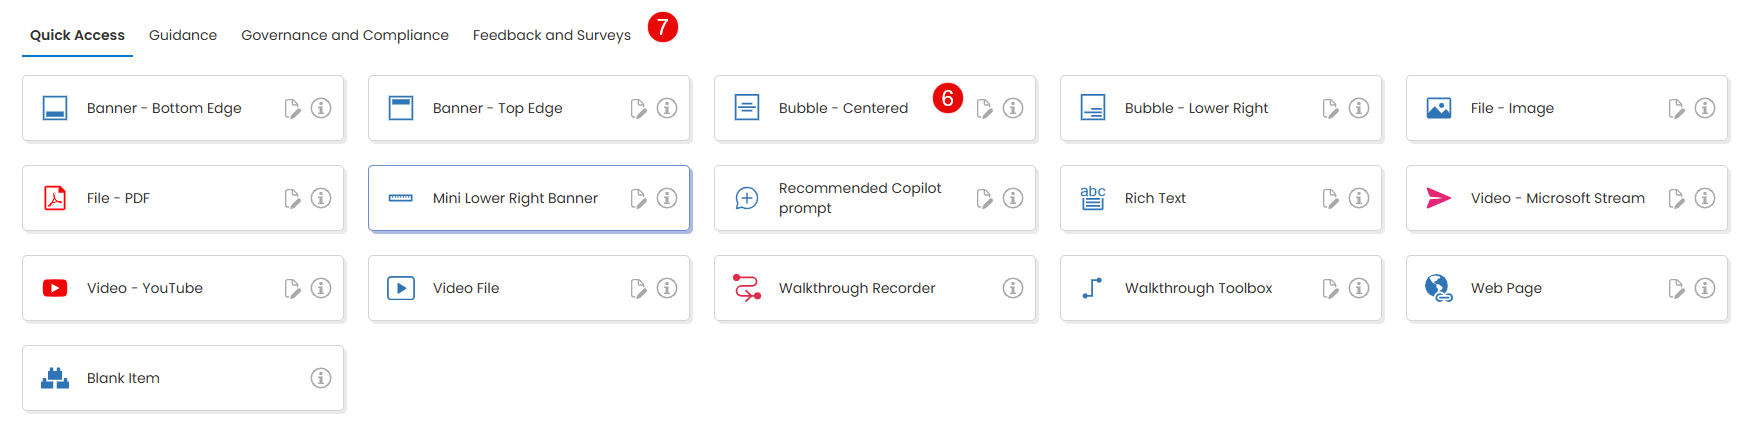
- Other templates are grouped into tabs.
How to Create a Template
Just as VisualSP empowers you to create your own help item, you can also create your own templates.
From the New Help Item page
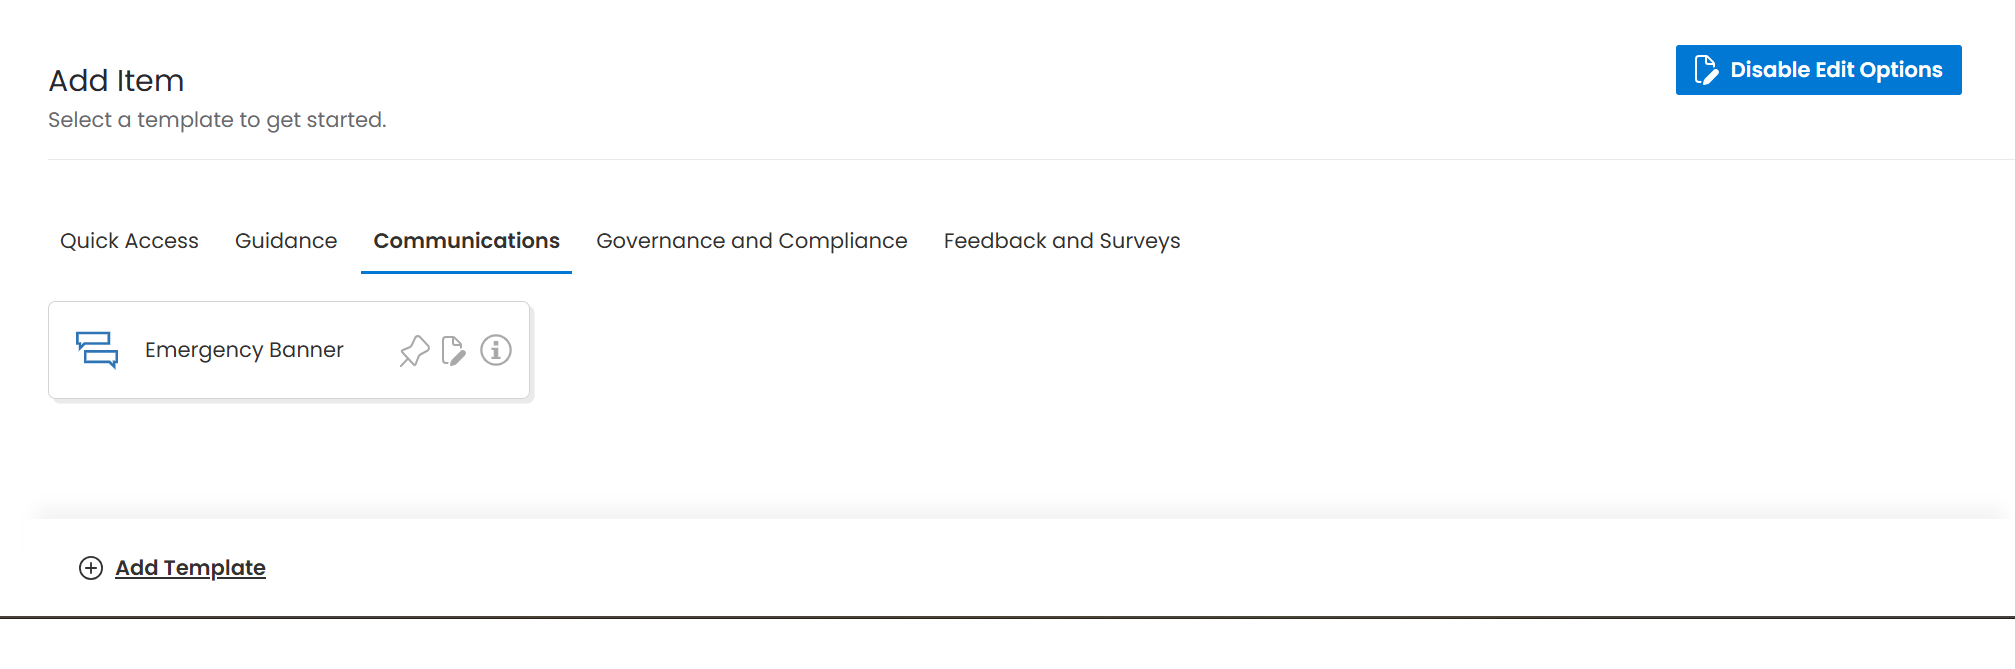
- From the New Item page, click the Enable Edit Options button and then click Add Template in the page footer:
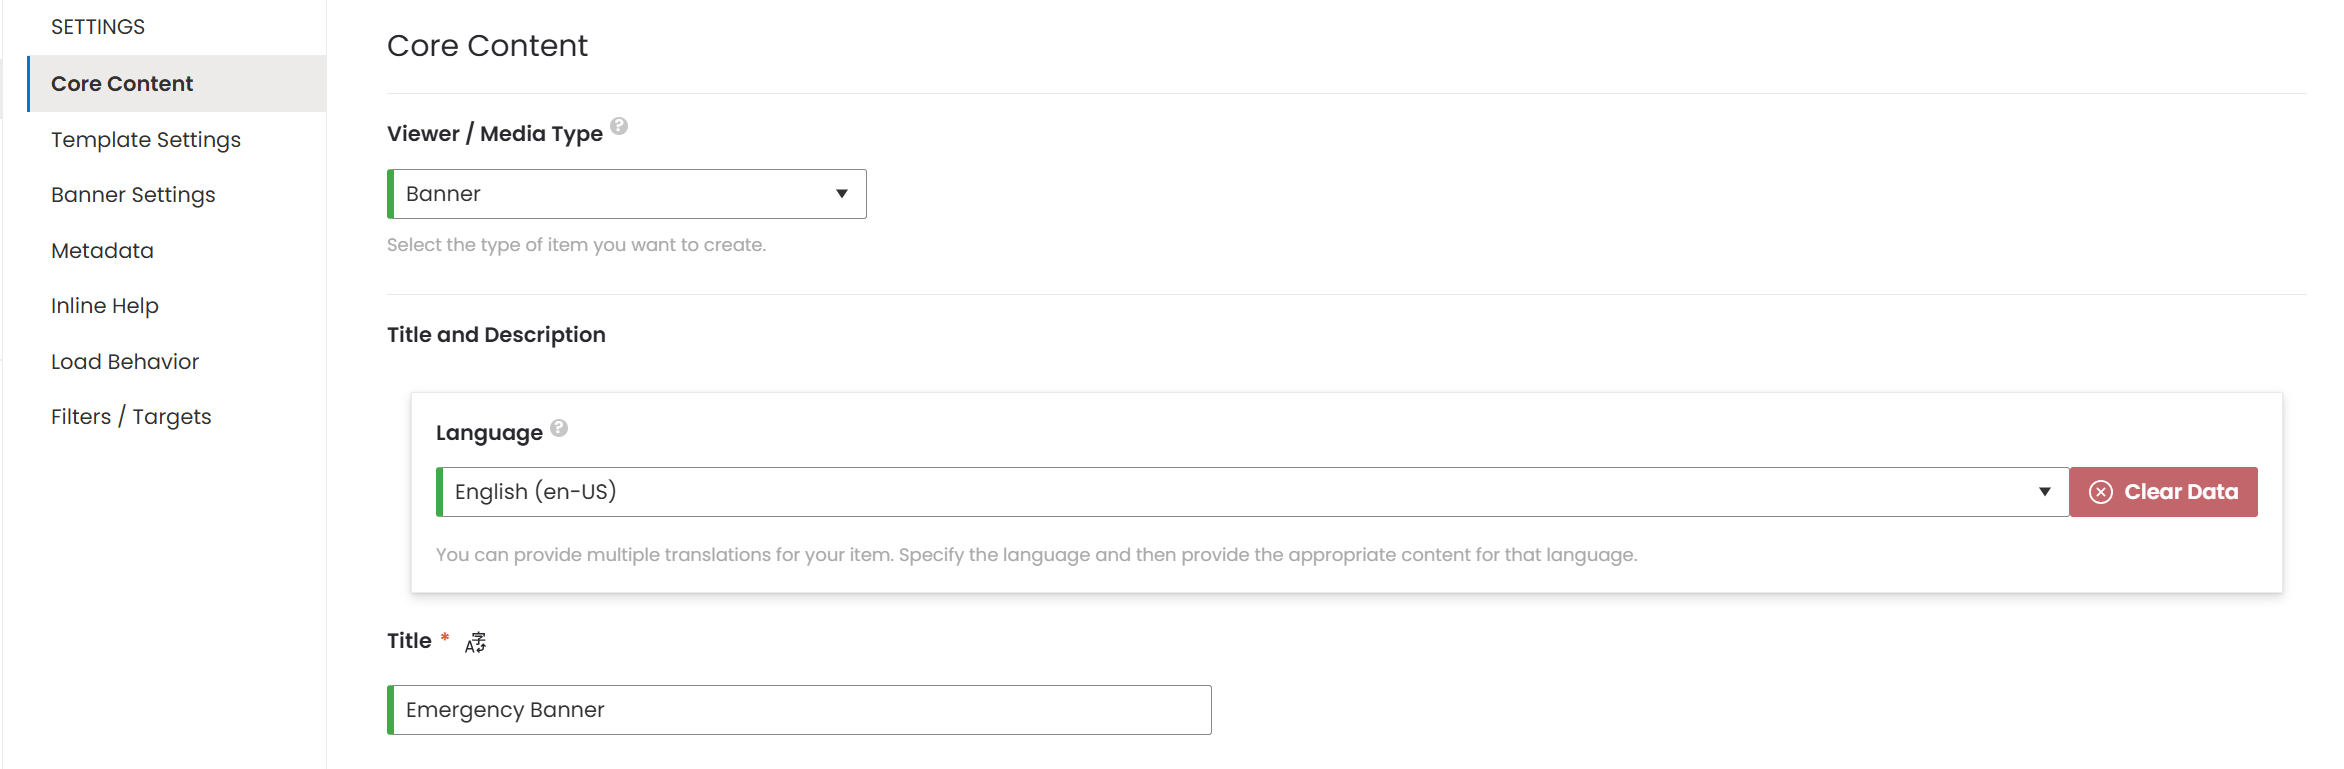
- From the Help Item Editor page, click the Core Content option in the Settings Menu to create the template content to be inserted when the template is selected.
- From the Help Item Editor page, click the Template Settings option in the Settings Menu to provide information to identify the template
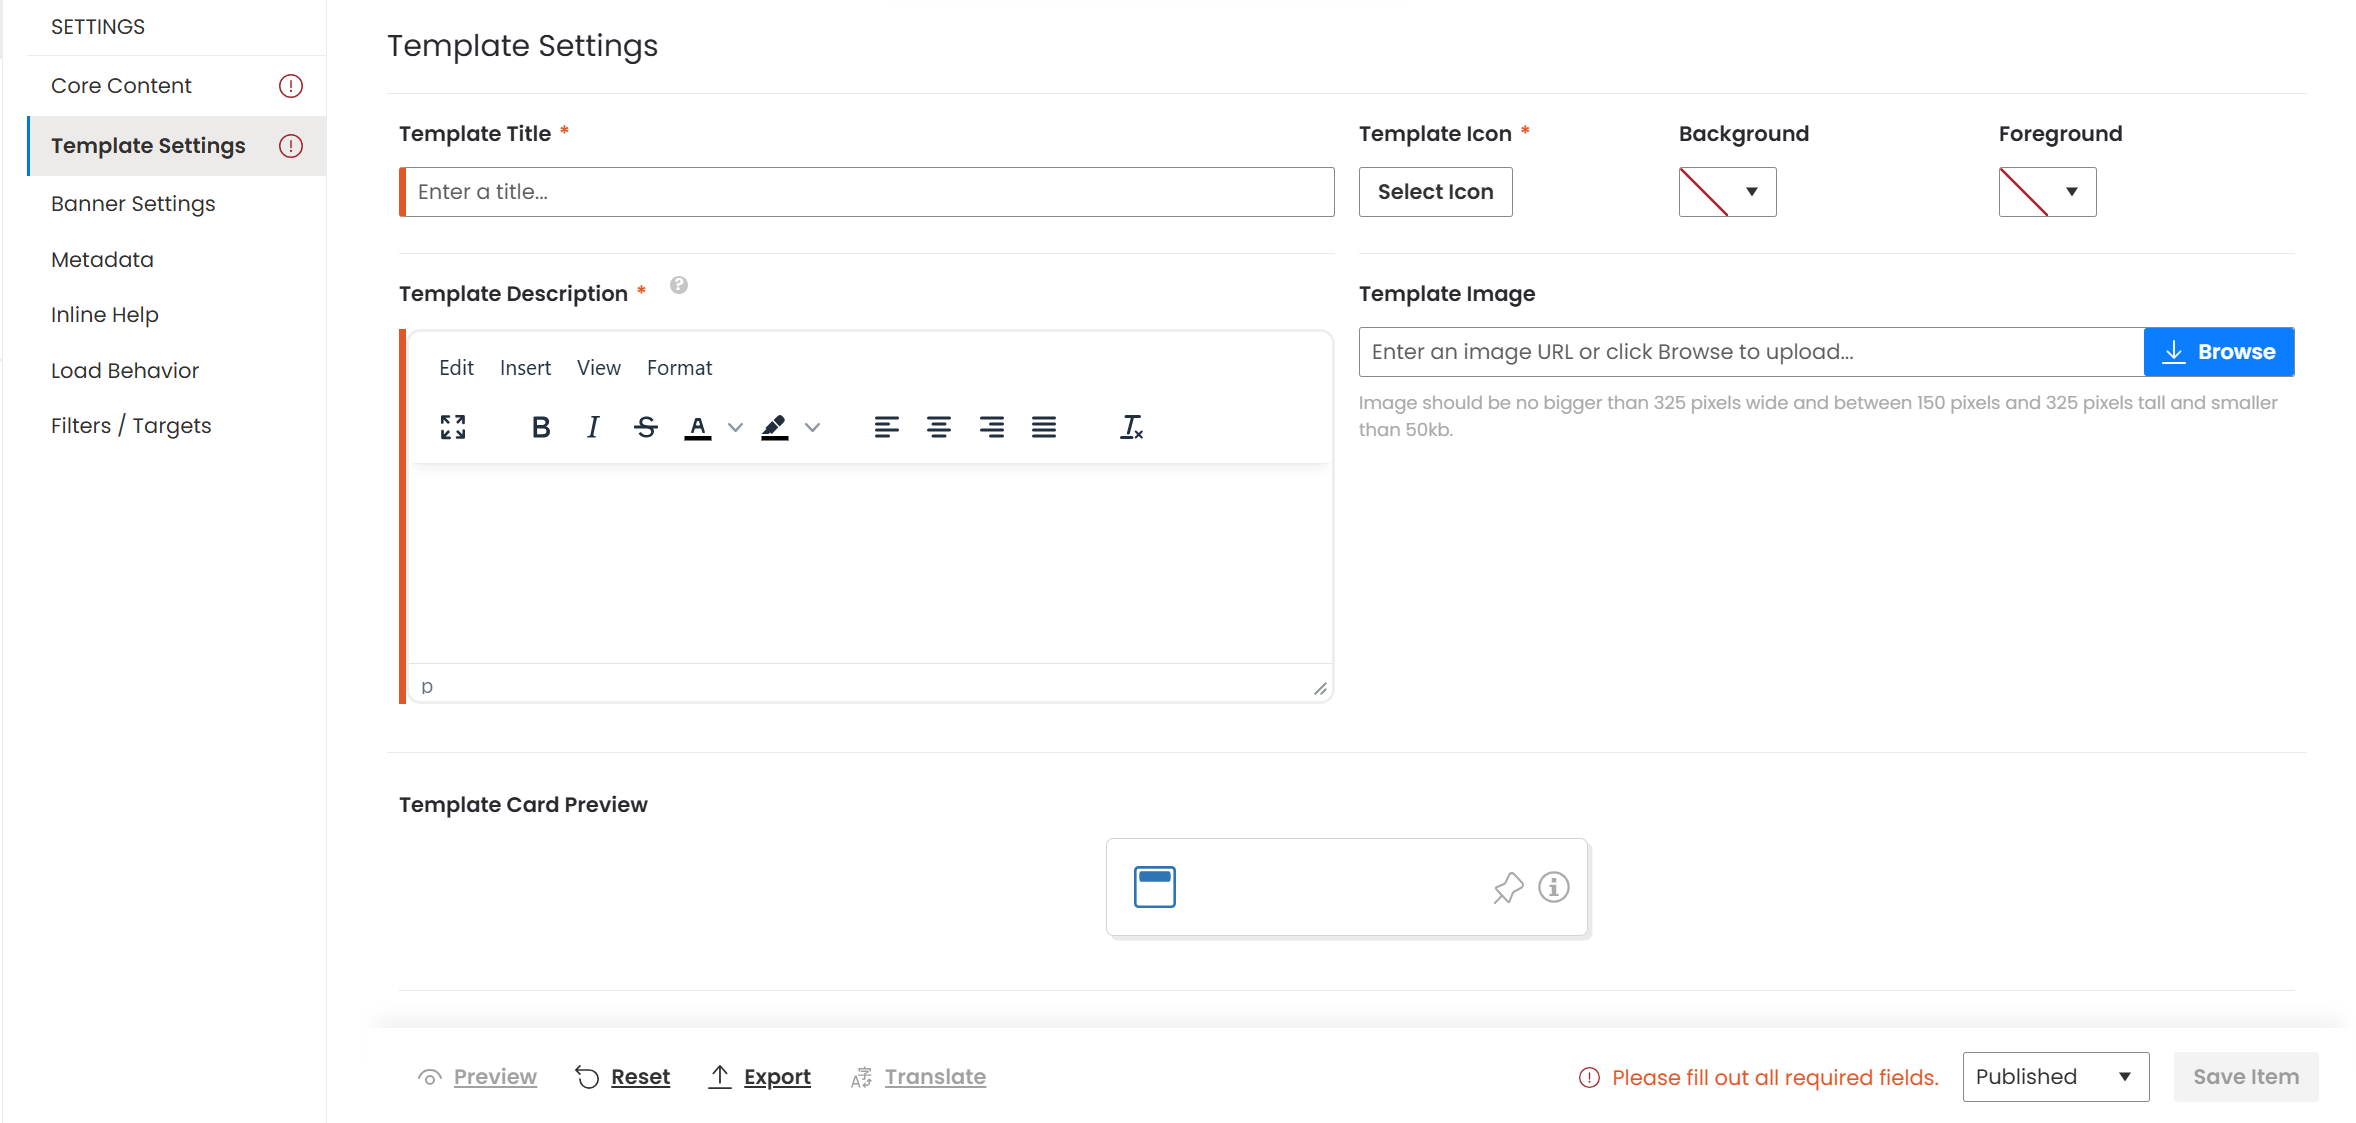 Template Title, Template Icon, and Template Description are required. The Template Image, Background, and Foreground are optional, but uploading an image of what the template looks like is helpful when looking for the template in the gallery.
 - Click on Metadata to assign the template to a Group template.

- Finally, Publish and Save the template