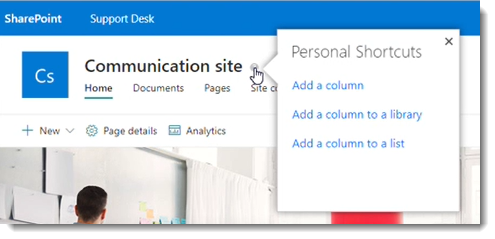
Occasionally Admins or Editors will have the need to arrange or group multiple help items around a single UI or target element. This was a feature of the VisualSP Classic product that provided support for SharePoint On-Premises and looked similar to the following:
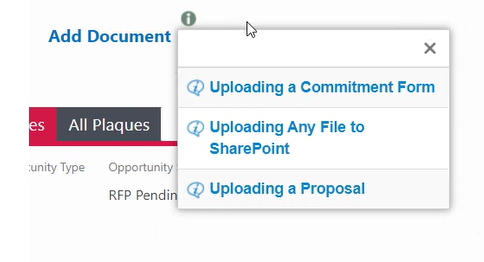
In the VisualSP app we can approximate this solution using a custom help item that includes a Rich HTML media type and is set to display as both an Inline help item with tooltip display enabled. We will review the necessary steps to create this solution below.
To get started, click on “Add Help Item” from the VisualSP app.
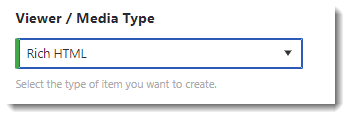
Select the “Blank Help Item” from the template gallery and then select Rich HTML as the viewer/media type as shown below:
Enter a Title for your help item and then scroll down to the Rich HTML editor:

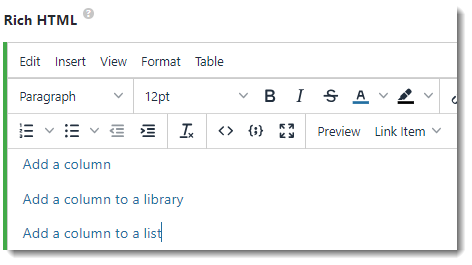
Link to Another Help Item
The easiest way to add Help Items is to select from the Link Help Item dropdown on the Rich HTML editor toolbar shown below:
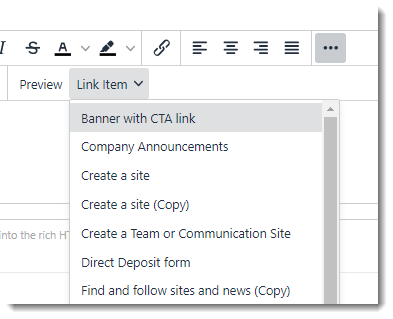
The help item content that is available in this dropdown is based on the context of the application scope so you will only see help items that are available to the site and scope of the application you are viewing.. Click on the desired help item to have it automatically inserted into the Rich HTML editor as shown below:
According to our best practices for using Inline help items, please select Inline help from the Group:

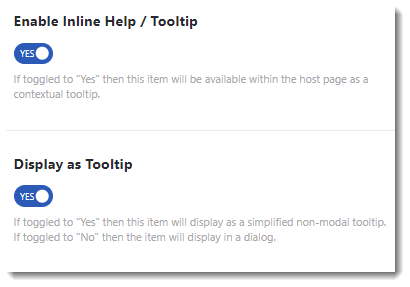
Toggle the Enable Inline Help / Display as Tooltip to ‘yes’:
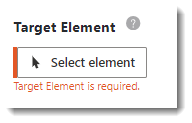
Click on Select element:
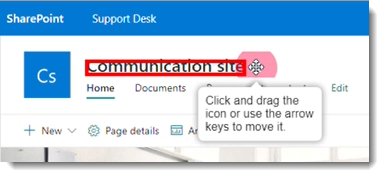
Highlight the desired UI element using the on screen guide and then drag the resulting inline help icon to the preferred location.
Click the Use It! button to set the element and location:
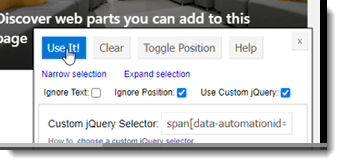
We will finish off this custom help item by adding some custom advanced property settings to customize the look and feel of the tooltip.
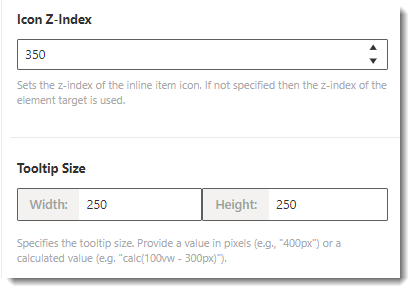
Toggle the Inline Help Icons Advanced Properties option

Set the Z-Index to 350 to place it above competing elements that are positioned absolutely on the document object model. Z-Index may be adjusted as necessary.
Set the Tooltip Size Width and Height to 250px to create a square tooltip. Size may be adjusted as needed to accommodate help item titles.
Finally, change the help item state to Published and click the Save button

Refresh the page to view your newly created inline/tooltip help item
Click on the tooltip to show the resulting grouped help items
