

A walkthrough can highlight specific sections of an application interface, providing on-screen guidance to your users at their moment of need. You can see an example of how this could load on a Microsoft 365 page here.
To create a basic Walkthrough, go to the VisualSP Help System Management tab.
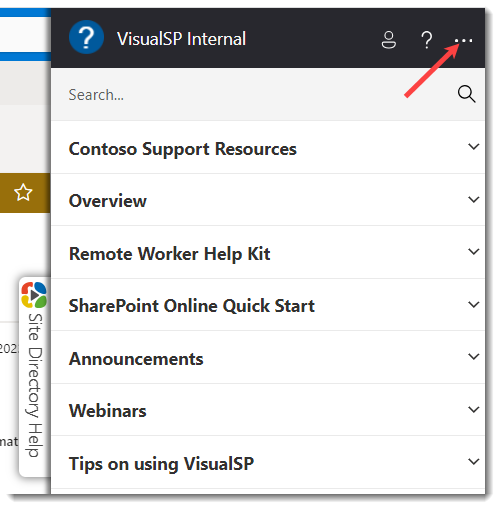
- Click on the 3 ellipsis.
- From the drop down menu, click on Enable Edit Mode.

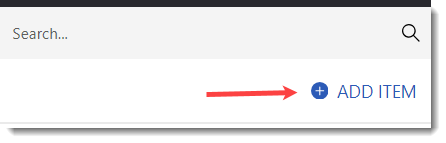
- Then click Add Item.
- Select the Blank Help Item template.
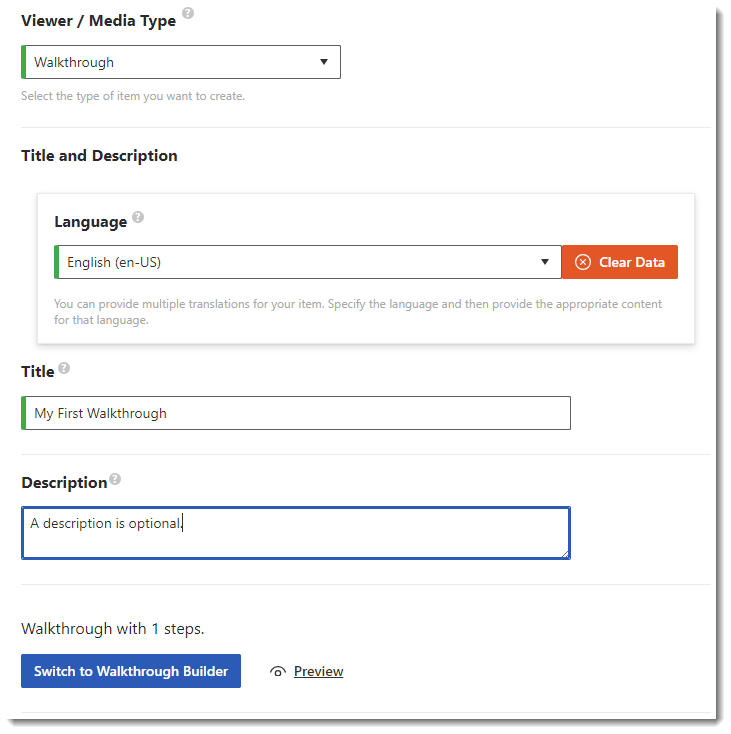
- Select the Walkthrough Media Type. Add a title (required) and description (optional) to your walkthrough. Click the Switch to Walkthrough Builder button.
- Add a Title and your Content.

- Toggle Show As Splash Screen to display the step as a splash screen, or click Select Element to attach the step to an element on the page. In this example we will click Select element. The Editor window will minimize.

- Select a 1) Target Element, e.g. Email, phone, or Skype field. Then choose to 2) Capture Screenshot and finally click 3) Use It! The walkthrough editor window will re-open.

The Capture Screenshot feature allows VisualSP to capture a screenshot of the current window to assist in training documentation
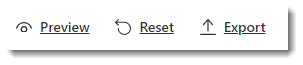
- Click the Preview button to check your work.
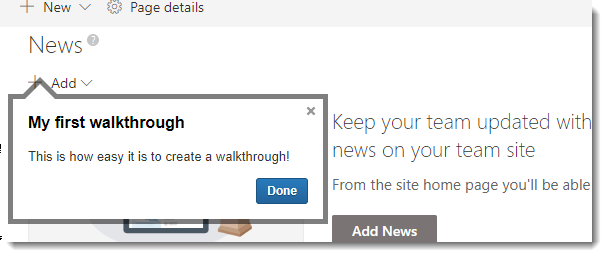
- This is what our walkthrough looks like so far.
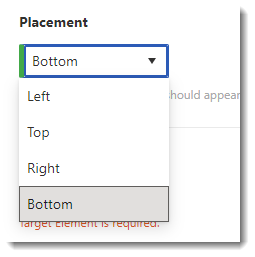
- The walkthrough step will appear below the selected element by default. You can change the position of the bubble by selecting a different Placement:
- To add another step, click on Add Step.

- When you are finished building out your walkthrough, proceed to the Metadata section by clicking the button at the bottom of the Walkthrough Steps window, or in the navigation column.
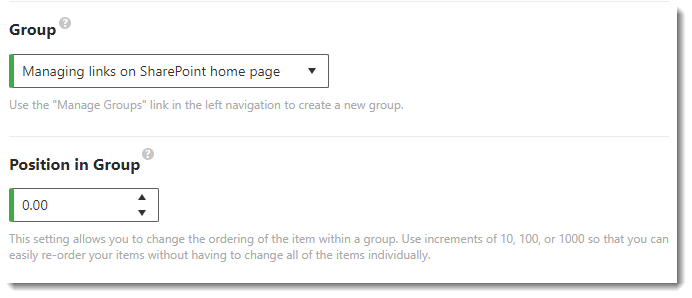
- Select the Group name and Position in Group. This is the category and position your help item will appear in the Help panel.
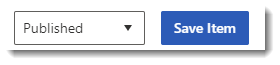
- Click the Save Item button to publish your walkthrough.
Congratulations! You have published your first walkthrough!
This was a tutorial on how to create a basic walkthrough. VisualSP has the power to make your help items more powerful. Dive into these more advanced features: